Showing posts with label stamp. Show all posts

Friday, 10 May 2019

Tag it Shake it

Hello ,
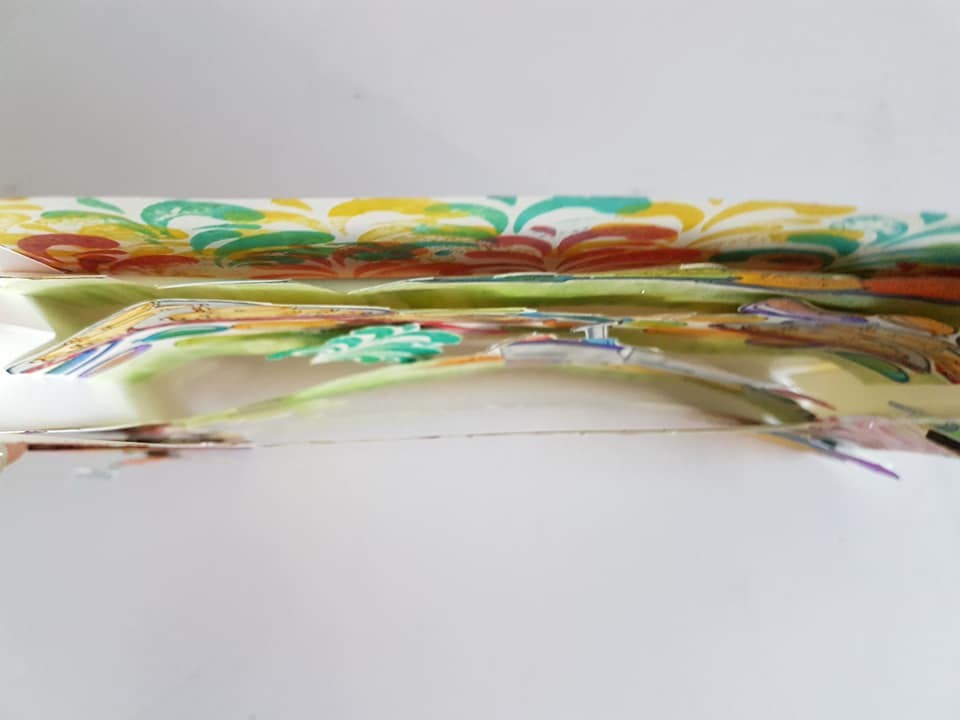
I have made a mixed media shaker tag
It's a long tag with lots of elements adhered together.


Thanks for stopping by.
Happy Crafting
Meeta

Linking to
creations in pink 9  54 13/05

creatalicious challenges 162 121 15/05

pearly sparkles challenge -40- PINK and Sparkles (SEQUINS) 22 27/05

ccc digi creations 103 19 31/05

crafty gals corner challenges 191 16 22/05

shopping our stash 395 16 12/05

the sisterhood of crafters 13 20/05

use your stuff 357  09 12/05

dream valley challenges 201  33 11/05

more mixed media challenge 12 05/06*

Wednesday, 8 May 2019

Off the edge CAS Card

Hello,
I generally do not make CAS cards much but I really liked the idea of this off the edge card.
It was so much fun making this one. Will try some more of this.


Hope you all also liked my card.
Happy crafting.
Meeta

Linking to

krafty chicks challenge 453  36 08/05

alphabet challenge blog 83 09/05

aaa birthday.blogspot.com game-1 26 02/06


stamplorations (NOT USED THE OPTIONAL TWIST) 25 01/06


my time to craft challenge 396  28 16/05


Tuesday, 16 April 2019

Chocolate explosion box


Dear friends,
I have made here an explosion box which is filled with chocolates and wishes.
Its a 6 by 6 " box which opens upto 18" square when fully opened.
It has 3 layers of 6" 5' 4" respectively.


I have layered the base of the Explosion box with 2 different types of pattern paper by Papericious.
In the corner flaps I have used pattern paper from Simple Stories.
Then adhered various embellishments.
For the lid I have stamped and colored the Julie Nutting stamp and added the flowers and resin frame. Also added the happy birthday sticker and 13 number as candles.

I have kept the box simple as chocolates had to be added.


Supplies used

Papericious Pattern papers
Pretty Basics / Happy birthday/ Back to Basics

Itsy Bitsy/Littlebirdie  handmade flowers
Itsy Bitsy Paper lace
ItsyBitsy/Little Birdie Sticker embellishment
Crafters Corner Embellishments
Crafters Corner Simple Stories Pattern Paper
Crafters Corner Doily Die
Crafters corner White paper lace
The Craft Shop Jullie Nutting stamp


Thank you for stopping by
Happy Crafting
Meeta

Linking to
papericious april  03 10/05

crafty hazelnuts patterned paper april 243 30/04 

Wednesday, 27 March 2019

Holi : Festival of colors

Hello,

Today I have made a Scene Card for an Indian festival of colors : Holi .

Scene Cards are basically Layered cards which give a 3D perceptive.
In this we try and create a scene. Scene be of any occasion eg Wedding , birthday etc
Today I have done for the festival of colors HOLI

Like in this card I have placed the color powder plates in one row.
Then sweets and color water filled balloons in one row.
Then the color water filled bucket with pichkaris
A boy and a girls playing on either corners.


I have first stamped the images on a white cardstock using masking technique
Then colored them with Zig watercolor brushes
Then put shimmer pates to give a glittery look to everything.
Now fussy cut from the top side only.
Now take 8 by 6 inches cardstock 2 numbers : one for the base and one for the frame.
Take another 2 pieces of cardstock 6 by 2.5 inches . Score at every half inches and fold like a fan.
This we will adhere on the sides of the base cardstock.
Then adhere the layers one by one with red tacky tape or any other adhesive
Stamp the water splash stamp on the frame cardstock with distress ink and add Candy shimmer paste.
Now randomly color the boy and the girl with different distrss inks.
Place them on the corners.
Stick the pichkaris on them with foam tape.
Add the color powder plates and sweets plate in one corner.
For the sentiment I have used different color embossing powders to go well with the festival.

PLEASE CHECK OUT THE VIDEO FOR THE TUTORIAL OF THIS CARD


Few more photos


                             Doesn't it seem that the girl is throwing water splashes on the boy and
                              the things are kept at different levels ?


Supplies Used
White cardstock
Distress Inks
Black archival Ink
Versamark
Wow embossing powders
Craftyscrappers CELEBRATE HOLI stamp set
Craftyscrappers Shimmer paste
Zig color brush pens
Chipboard girl boy
Red tacky tape

That's all from my side today.
Hope you all like my card as much I did creating it.
Happy Crafting
Meeta


Entering in
sir stamp a lot march -rainbow 63 03/04

kat scrappines rainbows  ** 01/04

scrapping 4 fun challenges 136 44 29/03


Friday, 15 March 2019

Yellow rose card


Dear Friends,
Here I am with another rose card.
This time with Yellow and green combination.
I loved putting up the layers on the card.


I hope you all like my cards.
Thanks for stopping by.
Happy crafting.

Linking to

pile it on challenge 152 40 08/04

cards galore challenges 61 122 30/03

.hndmd march flowers  18 31/03

ttcrd 12 march week 58 19/03

word art wednesday 378-379 31 27/03

scribbles designs challenge.74 48 15/03

unicorn challenge 41 39 30/03

crafting from the heart 238 155 18/03

a 2 z scrapbooking blog march 32 31/03

stamplorations tagplorations-march 06 31/03

rosa-talent march 17 31/03

dutch card lovers 308 06***

joy of sets tic tac toe  Middle Row Embellishment Nature Layers 01/27** 29/03

Thursday, 3 January 2019

New Baby Special

Hello
Let me first wish you a very happy new year.
Learn more Craft more is my mantra for this year. What is yours??

Here I have made some Birth Arrival Envelopes.


Something Old: Papericious Basics Paper Pack which I was having in my stash for a long time
Something New : The baby themed envelopes are for the NEW arrival 
Something Borrowed/Gifted : The stamps set was gifted by my mother when I had started crafting 
Something Blue : Blue colored Pattern Paper I have used in the envelopes.

Linking this to

the twisted challenges ttc7  02 31/01

ttcrd anything-goes 1/1/19  40 08/01

Creatalicious challenges challenge 154-anything-goes  21 15/01

crafty hazelnuts patterned paper january   37 31/01

word art wednesday anything-goes-weeks-368-369 22 16/01

always fun challenges challenge-91 49 07/01

my time to craft challenge /challenge-387-something-new 56 11/01

hndmd january 10 31/01

Saturday, 19 May 2018

Decoupage stand for the Itsy Bitsy Spotlight

Hello friends,
I am here with an awesome news that I have been selected as 'Crafter in the Spotlight' by the premium craft store Itsy Bitsy India.. So here is the project I made for the same with a pictorial tutorial.


You all can check my interview here Itsy Bitsy Blog


Here is the step by step tutorial for the multipurpose stand. Anything can be kept in it like stationary items, cutlery or even remotes.
Step 1
I took a mdf stand with three partitions and the Vintage Rose Tissue napkin.  I divided the stand in three parts with pencil.
**I must say the tissue napkins are so well individually packed that they don’t get any creases.**


Step 2
I masked the stand and applied Little Birdie Muted Teal chalk paint on the unmasked area.


Step 3

Now after drying I applied Little Birdie One step Crackle medium. I heat dried it and applied Little Birdie Snow chalk paint  to show the cracks 


Step 4
Now I took the tissue napkin and cut them in several pieces according to the design I want to place.  Always remove the white backing paper from the tissue, be careful.


Step 5
Now I arranged the tissue pieces all around the stand and adhere with Little Birdie Decoupage glue matt


I adhered several more pieces to give a better design as I felt that the stand was looking incomplete


Step 6

With the help of a stencil and Little Birdie 2 in 1 mixed media paste I gave the stand a little embossed effect. I gave the design randomly on all sides of the stand. After applying the paste on the stencil I removed the stencil and heat set it with Little Birdie Heat tool.


**Itsy Bitsy is making Crafters life so easy by placing the QR code on each product. I got a bit confused so I quickly scanned the QR code and the YouTube link was there to sort out all my confusion.  **

Step 7
I stamped little flourishes here and there to make the design look complete.


Step 8
I stamped little flourishes here and there to make the design look complete.


Step 9
I then applied VersaCraft Pale Aqua on the edges and the top.


Step 10
I applied Little Birdie Varnish Gloss all over and dried it.
I gave 2 coats of it to cover all areas.

Supplies Used


Final pictures of the completed multipurpose stand


I hope you all like it.
Please do let me know how you liked it.
Also attaching link to Itsy Bitsy Blog for my interview

Happy Crafting
Hugs
Meeta Bhalotia

Link to Itsy Bitsy India Blog for my interview and tutorial

Linking it to

altered eclectics /2018/05/may-challenge 27 31/05

crafting with friends 2018/05/ challenge-67 168 24/05

crafty sentiments 2018/05 pastel-colors-challenge 50 22/05

not just cards challenges 18/05/may 50 05/06

word art wednesday /2018/05/ weeks-334-335 283 23/05

http://cardsgalorechallenges.blogspot.com/2018/05/may-with-fred-she-said.html 153 31/05


Special 18 Card

Hello all, So here I am back to blogging after a break as I was busy crafting but just that I was not logging in here. Today I want to sh...