Tuesday, 16 April 2019

Chocolate explosion box


Dear friends,
I have made here an explosion box which is filled with chocolates and wishes.
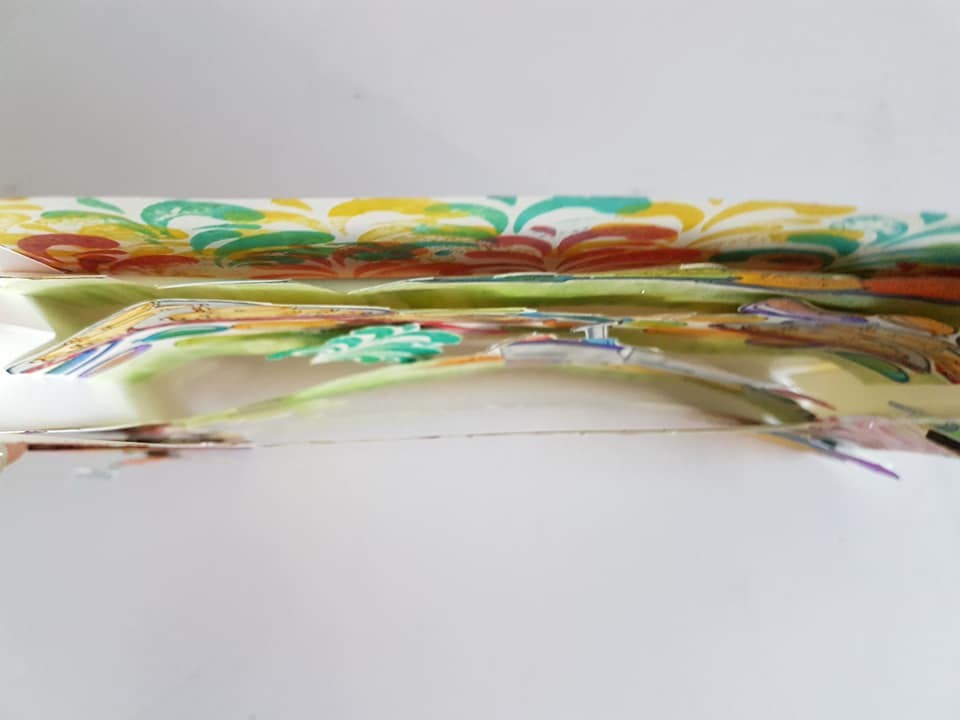
Its a 6 by 6 " box which opens upto 18" square when fully opened.
It has 3 layers of 6" 5' 4" respectively.


I have layered the base of the Explosion box with 2 different types of pattern paper by Papericious.
In the corner flaps I have used pattern paper from Simple Stories.
Then adhered various embellishments.
For the lid I have stamped and colored the Julie Nutting stamp and added the flowers and resin frame. Also added the happy birthday sticker and 13 number as candles.

I have kept the box simple as chocolates had to be added.


Supplies used

Papericious Pattern papers
Pretty Basics / Happy birthday/ Back to Basics

Itsy Bitsy/Littlebirdie  handmade flowers
Itsy Bitsy Paper lace
ItsyBitsy/Little Birdie Sticker embellishment
Crafters Corner Embellishments
Crafters Corner Simple Stories Pattern Paper
Crafters Corner Doily Die
Crafters corner White paper lace
The Craft Shop Jullie Nutting stamp


Thank you for stopping by
Happy Crafting
Meeta

Linking to
papericious april  03 10/05

crafty hazelnuts patterned paper april 243 30/04 

Friday, 12 April 2019

Full of Florals

Hello
I have here made a Tunnel Card for the occasion of a Birthday.

                                             Birthday Tunnel Card

Quick tutorial 

Took a card 6" * 6 "
Scored at 1/4 to give a texture to the cardstock.
With a circle die cut a round.
Distress the card with Worn Lipstick and Mustard seed,
Stencil it with Peacock Feathers with Craftyscrappers Basket weave stencil.
Took another 2 cardstocks and cut them with smaller circle die.
Painted the edges of the circle with ornament shimmer paste and Denim Shimmer paste
On clear sheet stamp birthday sentiment with red.
Added the 6 number die cut colored with Sea Glass Dazzle Paste.
Stamped Rose flower stamps from SENDING- sketchy.
Colored them with Colorbrush pens. Fussy cut them and arranged on the card.
Added 3 color jute cord .


Supplies Used
White cardstock
Craftyscrappers Sending Sketchy Stamps
Craftyscrappers Basket weave stencil
Distress Ink Pads
Zig Color Brush Pens
Jute cord


Hope you all like the cards.
Thanks for stopping by.
Happy Crafting
Meeta

Linking to


ttcrd april-9 60 16/04


use your stuff 354 26 14/04 


Tuesday, 2 April 2019

Craftyscrappers - Blog Hop


HELLO CRAFTY TOURIST,

WELCOME TO CRAFTYSCRAPPERS TOWN

We are proud citizens of town Craftyscrappers.
Our crafty town is being run by Mayor Konica Das and Deputy Mayor Jesse Zedek.

This month we are celebrating 6th birthday of our town and we like to invite you to visit my crafty castle. Every year we have crafty tourists visiting our town and joining us in celebrations.

We invite everyone to join us on this occasion and hop on and off our crafty bus.


Our blog bus runs from April 2 to  April 16 and we have prizes for a lucky visitor on May 5,
who will receive lovely gifts from us.

I welcome you to see my one of my unique crafty creation made for this special occasion .

                                                  BIRTHDAY TUNNEL CARD


Thank you for visiting my place.
Hop on and get off at the next stop MONICA EDWARDS
and enjoy marvelous masterpieces created for you.

8. MEETA BHALOTIA ( You are here)

Wednesday, 27 March 2019

Holi : Festival of colors

Hello,

Today I have made a Scene Card for an Indian festival of colors : Holi .

Scene Cards are basically Layered cards which give a 3D perceptive.
In this we try and create a scene. Scene be of any occasion eg Wedding , birthday etc
Today I have done for the festival of colors HOLI

Like in this card I have placed the color powder plates in one row.
Then sweets and color water filled balloons in one row.
Then the color water filled bucket with pichkaris
A boy and a girls playing on either corners.


I have first stamped the images on a white cardstock using masking technique
Then colored them with Zig watercolor brushes
Then put shimmer pates to give a glittery look to everything.
Now fussy cut from the top side only.
Now take 8 by 6 inches cardstock 2 numbers : one for the base and one for the frame.
Take another 2 pieces of cardstock 6 by 2.5 inches . Score at every half inches and fold like a fan.
This we will adhere on the sides of the base cardstock.
Then adhere the layers one by one with red tacky tape or any other adhesive
Stamp the water splash stamp on the frame cardstock with distress ink and add Candy shimmer paste.
Now randomly color the boy and the girl with different distrss inks.
Place them on the corners.
Stick the pichkaris on them with foam tape.
Add the color powder plates and sweets plate in one corner.
For the sentiment I have used different color embossing powders to go well with the festival.

PLEASE CHECK OUT THE VIDEO FOR THE TUTORIAL OF THIS CARD


Few more photos


                             Doesn't it seem that the girl is throwing water splashes on the boy and
                              the things are kept at different levels ?


Supplies Used
White cardstock
Distress Inks
Black archival Ink
Versamark
Wow embossing powders
Craftyscrappers CELEBRATE HOLI stamp set
Craftyscrappers Shimmer paste
Zig color brush pens
Chipboard girl boy
Red tacky tape

That's all from my side today.
Hope you all like my card as much I did creating it.
Happy Crafting
Meeta


Entering in
sir stamp a lot march -rainbow 63 03/04

kat scrappines rainbows  ** 01/04

scrapping 4 fun challenges 136 44 29/03


Thursday, 21 March 2019

Altered Diary

Hello Friends

I have altered a diary here with mixed media.
From the longest point I wanted to alter my dairy. I write all my crafty tips and tricks which I come across whether by myself or from anywhere else, So what better way than mixed media.

I did black gesso on top of the dairy cover to hide all the design,
Dis stencil with mixed media paste .
Then arranged all the elements like negative of a chipboard, clock, butterfly, mdf coaster, cheese cloth, cage.
Took 3 pencils and added a cord accord then and placed in the middle of the coaster.
Added a butterfly chipboard.
Did Black gesso all over.
Added mixed media stones.
Sprayed yellow, pink and green randomly.
Lastly added white gesso using a dry brush technique.


Supplies Used
Dairy
Black gesso
White gesso
Mixed Media pastw
Negative of the chipboard
Mdf coaster
Metal cage
butterfly
pencils
cord
Sprays
Cheese cloth
Tim Holtz Stencils
Script Stencil


I hope you all will like my mixed media altered diary.
Thanks for visiting my blog.
Happy crafting.
Meeta


Linking to
more than words challenge wings 32 31/03 WINGS 


creative artiste mixed media 47 ***

rhedds creative spirit  24 31/01

a inky mess 28 36 25/03

we love 2 create/challenge-3- 63 31/03

stamplorations.mixed-media  31 31/03

altered eclectics 28 31/03

mixed media place march 04 15/04


mixed media academy. 30 31/03


bleeding art challenge 10 15/04

mix it up challenge. 23 76 01/04

art daily cafe march 14 20/04


Album Box

Hello friends

Here is a box I made for an album.
These boxes keep the album safe.
 I have here taken a MDF box... with dimensions 12 "* 10* 5.5"
First I painted the whole box with white gesso and then with chalk paint.
I have put a coordinating paper according to the album.
I used script stencil with mixed media paste on top of the box .
Then used rose stencil and dabbed randomly with distress ink all over the box.
With black archival ink I stamped randomly.


That's all from my side today hope you all like my box.
Do leave your views. Would love to know.
Happy Crafting.
Meeta

Linking to
altered eclectics /march-already 27 31/01

a inky mess 28 35 25/03

creative artiste mixed media 47 56 31/03

we love 2 create 3 62 31/03

moo-mania 187-colourful 05 31/03

mixed media academy march 29 31/03

mixed media warriors march 11 31/03  Flowers


splashy mix challeng 3  17 28/03


mixed media place march 05 15/04


Tuesday, 19 March 2019

Star Album With love

Dear friends,

I have today a star album.
Its a normal looking album but when opened it forms a star.
Had so much fun making it as it was completed within no time.
Dimensions 6" * 5"
10 to 12 small sized photos can be put.


Hope you all will like my album as much as I did.
It was so much fun . Do try this out.
Thanks for visiting my blog
Happy Crafting
Meeta

Linking to

crafty hazelnuts patterned paper march 269 31/01

mini album makers 19 01/04

crafty creations challenges 386 118 26/03

the crafty addicts -58 94 02/03

love to scrap challenge 119 151 31/03 

Special 18 Card

Hello all, So here I am back to blogging after a break as I was busy crafting but just that I was not logging in here. Today I want to sh...